
RIM (Reaction Injection Molding): The brief introduction and engineering guide
Ready to get your parts for RIM?
RIM (Reaction Injection Molding) Applications
Low Volume Manufacturing / Short Production Runs The RIM process is perfect for low volume plastic prototypes. When volumes do not justify investment in injection molding and short run production parts, it can complete weeks before production tooling is ready. Our advanced manufacturing services help you to create custom and complex production parts in low volumes faster than traditional tooling and molding. Engineering Verification / Functional Testing The RIM process and relatively inexpensive tooling involved make it easy and economical for any necessary engineering verification and design changes. Additionally, these would be used to do functional test before testing the mass production products and issue report or even get any certification approval. Aesthetic Models / Color & Texture Studies The casting part can be a full set aesthetic model with different colors, textures and finishes under the same design idea. If having no idea about what color would be the most suitable for a product, you can make a silicone mold to produce 10-15 castings and paint each with your design colors and textures to discuss internally during meeting among design departments or even management meetings. Marketing Ready / Display Models End-user functionality and a high-quality finish makes urethane cast parts ideal for consumer testing and user evaluation. The application of The RIM process means that changes can be quickly made for either further testing or market launch. At any trade shows or exhibitions, you can display several modeled pieces to clients who are interested.Making Master Pattens for RIM (Reaction Injection Molding)
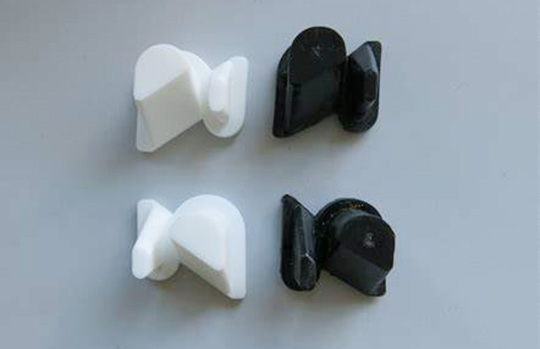
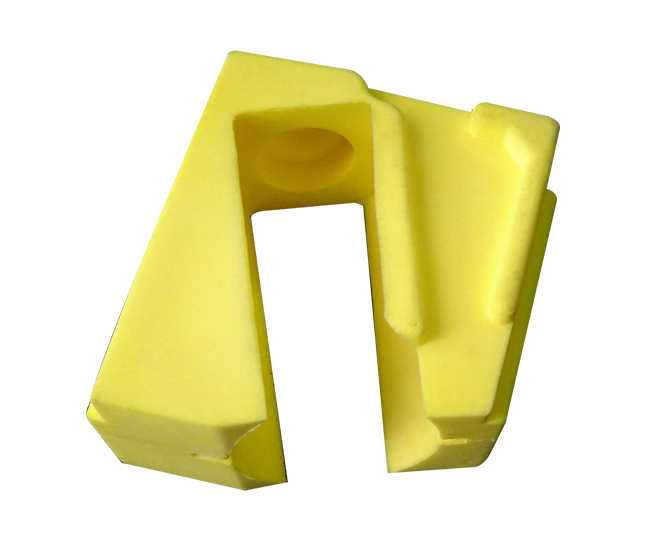
The quality of the casting parts is determined by the quality of master pattern, and most of the common masters are machined by CNC when you need to hold tight tolerance such as +/-0.05mm. In addition, we also will consider making the master by SLA for those parts with complicated structures. CNC machine takes longer time and costs more to make the master, while SLA can produce the masters faster, and can ensure the assembly features to form correctly and accurately.
The quantity of the masters is based on the total quantity of casting parts required at last. If the casting quantity is only several pieces, then one master will be enough, while if the quantity is over 30 pieces, in considering the delivery time, we will make 1-2 masters so we can make more silicone molds to do the casting parts faster.

When the requirement of a client comes to high tolerance, glossy finish or even optically clear parts, the master pattern will be manufactured with CNC machine which is characterized with high specification precision machining and high-quality surface finish.
The professionally polished parts will be glossy finish and optical clarity. In the meantime, we also can paint parts surface for texture or satin effect to simulate the final mold texture of the product. The silicone molds will copy the details and textures from the original master, so the casting parts will come out the same as the master without any extra finish on the surface.
 Silicone Rubber Mold Making
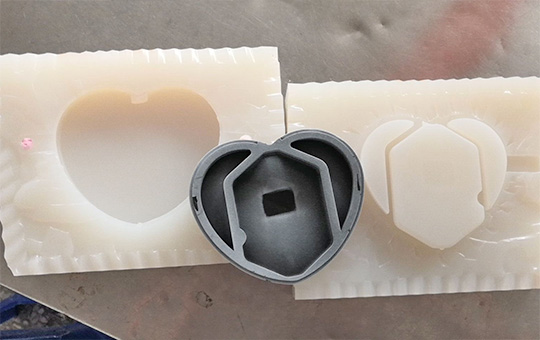
The silicone rubber mold (also known as RTV mold) is created based on a master pattern. The chemical stability, self-releasing properties and flexibility of silicone rubber are excellent that it offers minimal shrinkage and carries fine details effectively from master to mold.
The service time of the silicone mold is directly related to the complexity of the casting part. Generally, it outputs 12-15 pieces before degradation. If the structure of the part is simple, one mold might be able to cast 20 parts; while if the part requires high quality such as the clear complicated part, one mold can only make 12 or even 10 casting parts.
 Steps to Creating a Silicone Rubber Mold:
The master needs to be stuck with some thin films to make the mold easier to be cut, which will act as a seam for the final mold.
The master model is suspended in a box with the gates and vents attached; risers are put on the part to allow air to escape from the final mold.
Silicone is poured around the master and vacuum is used to remove all air. This then is cured in an oven, at a temperature of 40℃. It generally takes 8-16 hours depending on the volume of the mold.
Once the silicone rubber has cured, the box and risers are removed; as the master is removed from the silicone to form a cavity, a silicone rubber mould is made.
 Steps to Urethane Casting Process:
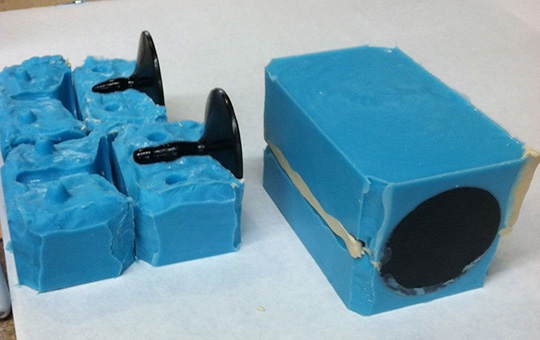
First-phase preparation, the silicone mold is placed in an oven and heated to 60°C-70°C.
Assemble the mold before casting the polyurethane. Choosing right mold-release agent (and using it properly) is very important to avoid stickiness and surface defects.
Prepare the polyurethane resins to preheat it to about 40°C before use. Mix two-component resins in exact proportions, and then fully stir and degas for 50-60 seconds under vacuum.
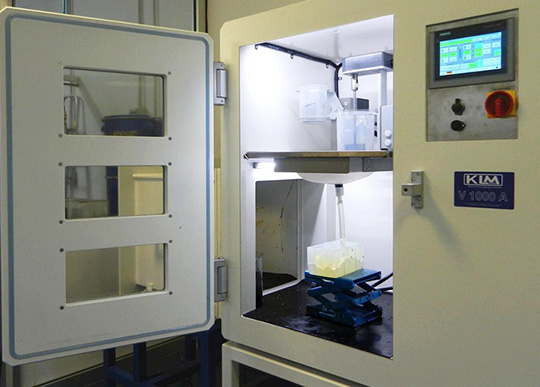
The resin is poured into the mold inside the vacuum chamber under computer control, and cured again in the oven. Average cure time: 1-3 hours for small parts and 3-6 hours for big parts.
Remove the resin part from the silicone mold after cured. Remove the gates and vents; leave an exact copy of the original.
Prepare to repeat this cycle.
